
Most North Texas homeowners don't think about winterizing their plumbing until the forecast shows a hard freeze coming — and by then, it's already too late to do it properly. The 2021 winter storm should have changed that, but honestly, most homes in the area still aren't adequately prepared. The Insurance Information Institute reports that frozen and burst pipes are one of the most expensive weather-related insurance claims homeowners face, averaging over $15,000 in damage per incident. Doing ten simple maintenance tasks before the cold season hits costs a fraction of that — and most of them take less than an hour. If you want a professional set of eyes on your system before winter arrives, an expert plumber in Hurst can walk through everything in a single visit.
Here's what to do — and why each task actually matters.
Why Does Winter Hit Texas Plumbing So Hard?
Because homes here weren't built for sustained cold.
In states that regularly see freezing temperatures, homes are built with plumbing inside insulated wall cavities, pipes routed away from exterior walls, and deeper foundations that keep underground lines below the frost line. In North Texas, where hard freezes happen maybe once or twice a decade in normal years, a lot of that protection was skipped.
Pipes run through attics, garages, and exterior walls with minimal insulation. Outdoor hose bibs are exposed. And the soil is shallow enough that underground lines can be affected by sustained cold at the surface.
That combination is exactly why the 2021 freeze caused so much damage in the DFW area — including Hurst and surrounding Tarrant County communities. Homes that had never experienced a real cold event suddenly faced temperatures their plumbing had never been designed to handle.
The good news: most of the vulnerability is addressable with basic winterization. Here's the list.
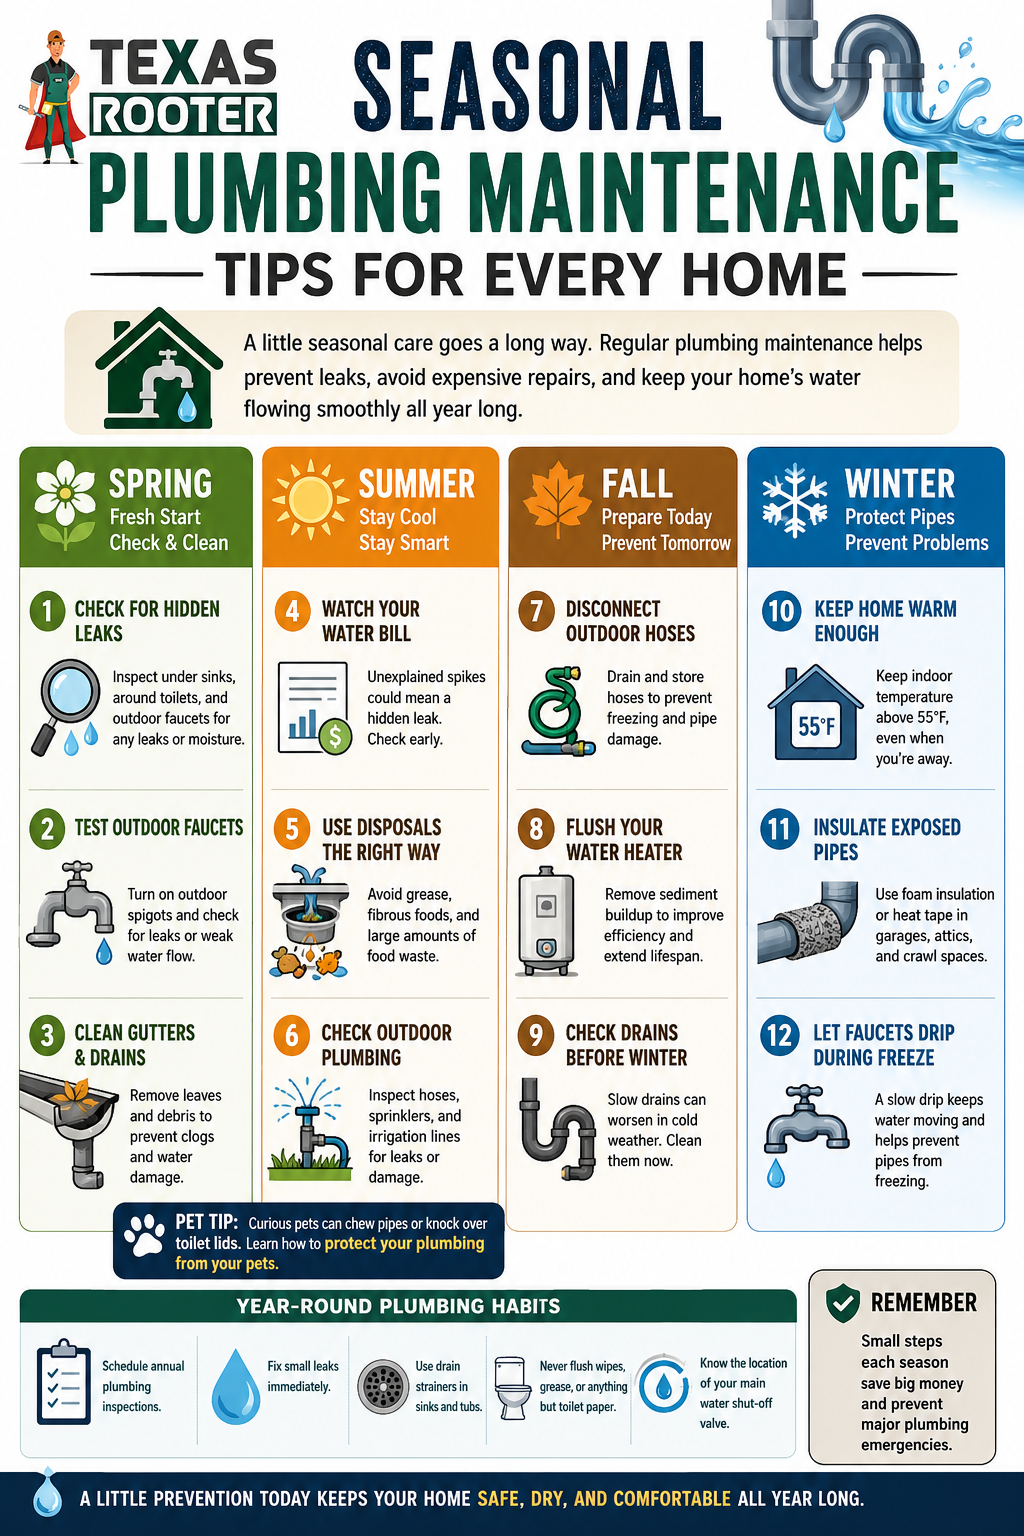
1: Insulate Exposed Pipes Before the First Freeze
This is the most impactful single task on this list, and the one most often skipped because it feels like it can always be done later. Later sometimes arrives as an actual freeze.
Foam pipe insulation — the split foam tubes that slide over the pipe — is available at any hardware store for $1–$3 per linear foot. It installs in minutes with no tools. Focus on:
Pipes in the attic (a common routing in Texas homes that's extremely vulnerable)
Pipes in the garage, especially if it's unheated
Pipes running along exterior walls in crawl spaces or utility areas
Any pipe visible in an uninsulated space
You don't need to wrap every pipe in the house. Focus on the ones in unheated spaces. Those are the ones that freeze.
If you want a full picture of what's vulnerable in your specific home — and the most effective way to prevent frozen pipes — our detailed guide walks through the most common failure points in North Texas homes and what to do about each one before temperatures drop.
2: Disconnect and Drain Outdoor Hoses
This one is easy and gets forgotten constantly.
When a garden hose is left connected to an outdoor hose bib in freezing temperatures, water can't drain out of the bib properly. That water freezes, expands, and the pressure it creates can crack the hose bib or the pipe behind it — inside the wall.
The fix takes 30 seconds: disconnect the hose, let the bib drain, and store the hose somewhere it won't freeze.
If your outdoor hose bibs are older standard models (not frost-free), turn off the interior shutoff valve that feeds them, then open the bib to drain the remaining water out. If you don't know whether you have a frost-free hose bib or a standard one, a plumber can identify and upgrade them quickly — it's a straightforward swap that significantly reduces freeze risk.
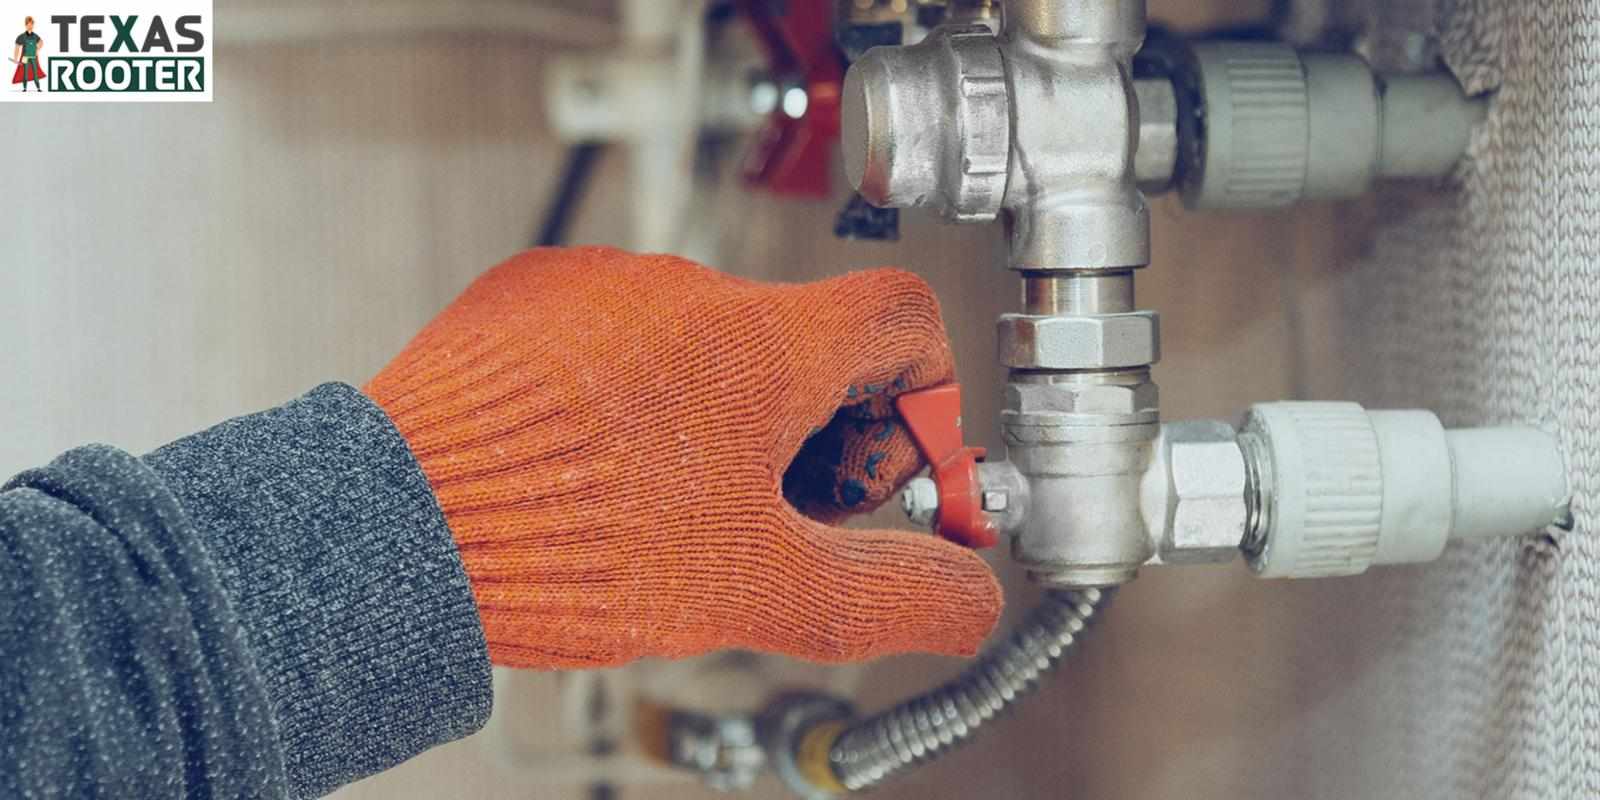
3: Know Where Your Main Shutoff Valve Is — Right Now
Not "I think I know." Actually know. Go find it today.
In a winter pipe failure, the difference between shutting off the water in 30 seconds and spending 10 minutes searching while water pours through the ceiling is a very expensive 10 minutes. Water damage compounds fast — flooring, drywall, subfloor, and insulation all absorb water quickly, and the longer it runs, the worse the outcome.
In most Hurst-area homes, the main shutoff is near the front of the house — inside a utility closet, in the garage, or outside near the foundation. Some older homes have it in a box at the curb. Once you find it, confirm it actually works. Turn it off fully and back on. If it's a gate valve (round wheel) that's seized and won't move, have a plumber replace it with a modern ball valve before winter — a stuck shutoff is no shutoff at all.
4: Service Your Water Heater Before Cold Season
Water heaters work harder in winter. Incoming water temperature drops when it's cold outside, which means the heater runs longer cycles to reach the set temperature. If the unit is already stressed — sediment buildup, an aging heating element, a degraded anode rod — winter is when it tends to show.
In North Texas, hard water mineral deposits build up inside the tank over time. That sediment layer insulates the water from the heating element, making the unit work harder and wear out faster. A plumber can flush the sediment out in about 30 minutes, inspect the anode rod (the part that prevents tank corrosion), and check the pressure relief valve at the same time.
If your water heater is 10 years or older, winter is not the time to find out it's past its limit. Replacing it on your schedule — before the season — is dramatically less disruptive than an emergency replacement in January when demand for plumbers is high and wait times are longer.
5: Check the Temperature Setting on Your Water Heater
This is a two-minute task that has a real impact.
The US Department of Energy recommends setting your water heater to 120°F for most households. In winter, some homeowners turn it up thinking hotter is better. But temperatures above 120°F increase the risk of scalding, waste energy, and put more stress on the tank and T&P valve.
What actually matters in winter is making sure the setting is at least 120°F — cold incoming water at 40–50°F requires the heater to work harder than it does in summer when incoming water is warmer. At 120°F, the heater has enough margin to handle that without being pushed into the danger zone.
6: Check All Exterior Wall Penetrations for Gaps
Pipes pass through exterior walls at multiple points — outdoor faucets, dryer vents, gas lines, water lines feeding outdoor kitchens or irrigation systems. Where a pipe passes through a wall, there's often a gap around it that lets cold air in directly against the pipe.
Walk around the outside of your home and look at every point where something passes through the exterior wall. Any gap — even a small one — should be sealed with expanding foam spray or foam backer rod before winter.
Think of it this way: a pipe in an insulated wall with a half-inch gap at the penetration point is effectively sitting in outside air on one side. That gap is why pipes that "should be protected" still freeze.
7: Test Your Irrigation System and Shut It Down Properly
Irrigation systems have a lot of exposed pipe and components — manifolds, valves, backflow preventers — that can freeze and crack if left with water in them through a hard freeze.
The right winterization procedure for an irrigation system involves blowing compressed air through the lines to clear water from every zone. This is called a blowout, and it should be done by someone with the right compressor setup — too much pressure damages the heads, too little leaves water in the lines.
Most irrigation companies offer blowout service in the fall. A plumber who works on irrigation systems can also handle it. Either way, do it before the first freeze — not during or after.
If your system has a backflow preventer, that component is particularly vulnerable to freeze damage and should be insulated separately after the system is drained.
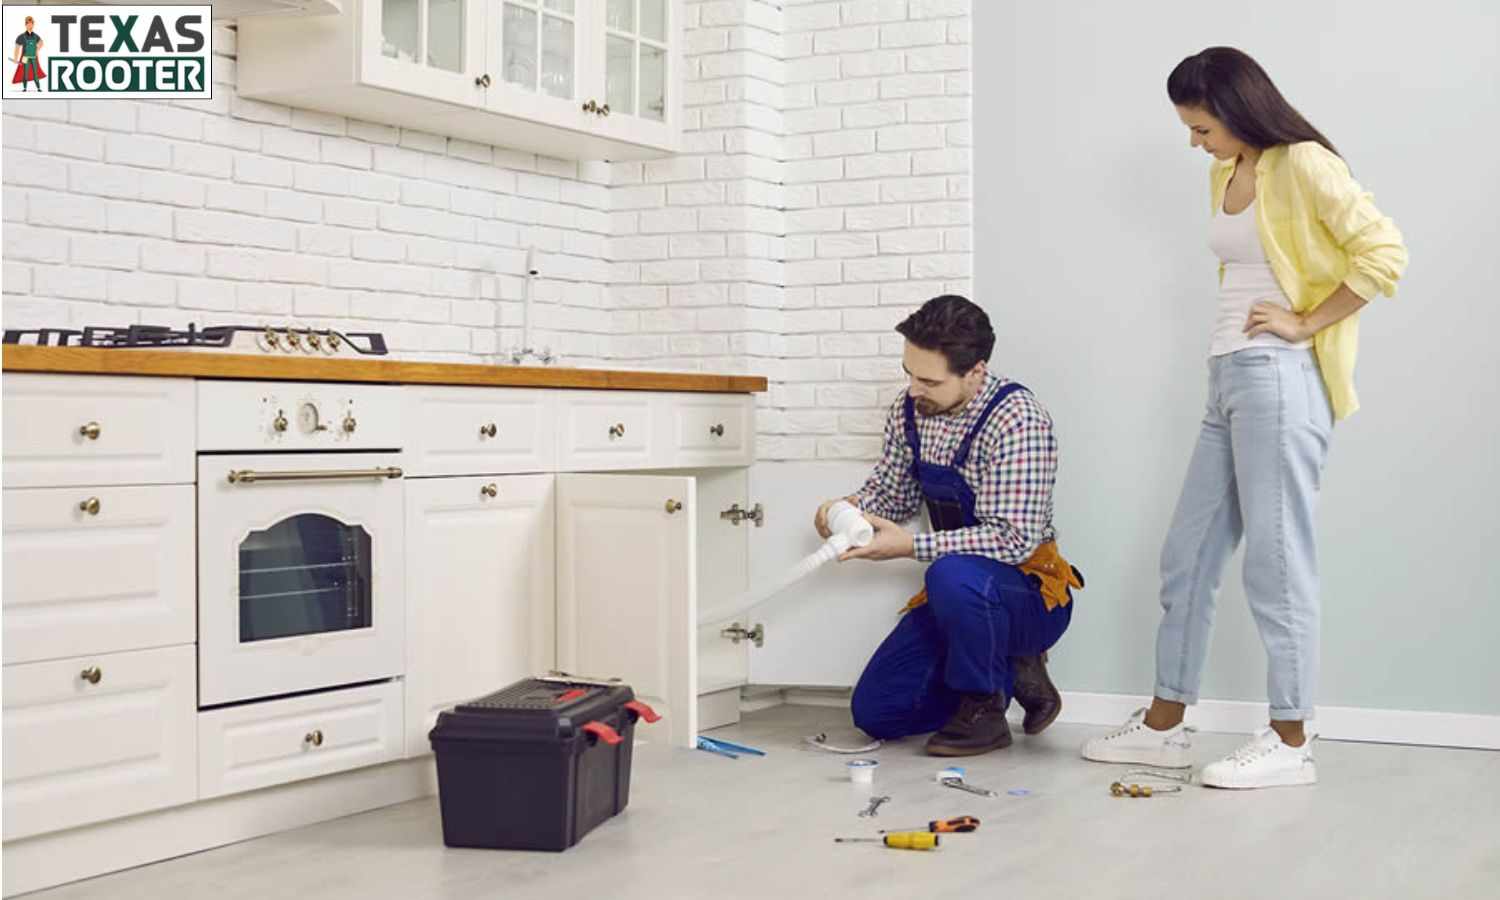
8: Check Under All Sinks for Slow Drips or Moisture
Winter is not the time to discover a leak that's been developing under your kitchen or bathroom sink for months. Cold temperatures accelerate corrosion and stress on pipe joints and fittings — a drip that was stable in October may fail under the thermal stress of a January cold snap.
Open every cabinet under a sink and look. You're checking for:
Active drips from the supply lines or drain connections
Moisture stains on the cabinet floor or back wall
Soft or swollen cabinet material that absorbed past moisture
Corrosion or green-blue residue around any fittings
Any drips should be addressed before cold weather arrives. A slow drip under a bathroom sink is cheap to fix in November. The same drip that freezes and fails at the joint in a cold snap is a bigger problem in January.
9: Clear Your Drains Before They Freeze Over
This one is specific to outdoor drains, floor drains in garages or utility areas, and any drain near an exterior wall.
Drains clogged with leaves, debris, or buildup don't drain properly. When water sits in those drains and freezes, it can crack the drain body or the pipe below it. It can also back up into areas you don't want water — garages, crawl spaces, utility rooms.
Clear any outdoor drain grates of debris before freezing weather. For interior floor drains that don't see regular use, pour a cup of water with a small amount of RV antifreeze (safe for plumbing systems) down the drain to keep the P-trap from drying out and freezing. Regular water in a P-trap can freeze in a very cold garage or utility space.
10: Have a Pre-Winter Plumbing Inspection Done
This is the one that covers everything the other nine tasks might miss.
A professional pre-winter plumbing inspection covers the water heater, all supply line shutoff valves, the main shutoff, exposed pipe conditions, outdoor hose bibs, pressure levels, and any visible signs of corrosion or developing leaks. It takes 2–3 hours and typically costs $150–$300.
What it gives you: a clear picture of your plumbing system's current condition, a list of anything that needs attention before winter, and the confidence that you're not going into cold season with a problem you don't know about.
The homeowners who ended up with the worst outcomes from the 2021 freeze were largely the ones who had pre-existing vulnerabilities — aging pipe, failing shutoffs, inadequate insulation — that they didn't know about before the event. Catching those issues in advance isn't expensive. Responding to a burst pipe in the middle of a winter storm, with every plumber in the area fully booked, is.
Winter Prep: Doing It vs. Not Doing It
Here's an honest cost comparison:

None of those "cost if you skip it" numbers are worst-case inventions. They're the kinds of calls plumbers take in January and February after cold events — from homeowners who knew they should have prepared and kept putting it off.
Don't Wait for the Forecast to Do This
The biggest mistake we see every winter is homeowners who planned to winterize but waited until a cold front was already on the radar. By then, hardware stores are sold out of pipe insulation, plumbers are booked out, and any task that needed a service call can't happen before the freeze.
Winterization done in October or early November is done calmly, properly, and with time to fix anything that turns up. Winterization attempted on the afternoon before a hard freeze is rushed, incomplete, and often misses the most important things.
If you want a licensed plumber to walk through your home and handle the tasks that need professional attention, Texas Rooter serves Hurst and the surrounding Tarrant County area with pre-winter plumbing inspections, water heater service, outdoor shutoff replacements, pipe insulation, and irrigation winterization.
Key Takeaways
Pipe insulation in attics and garages is the single most impactful freeze prevention step for Texas homes — pipes here aren't built for sustained cold
Disconnect garden hoses before the first freeze — it's a 30-second task that prevents a $200–$600 hose bib and pipe repair
Know your main shutoff valve location and confirm it actually works — a seized valve is useless in an emergency
Service your water heater before winter — it runs harder in cold weather and hard water sediment shortens its life
Seal exterior wall penetrations where pipes pass through — gaps let cold air directly against the pipe
Irrigation blowout before the first freeze prevents cracked manifolds and backflow preventers
Pre-winter plumbing inspection ($150–$300) finds vulnerabilities before they become winter failures
Do not wait for a freeze forecast to start winterizing — by then, the preparation window is already closing


Write a comment ...